DIY PPE – Masks
With COVID-19 turning everything upside down, it is becoming normal to see people doing their shopping or taking a walk wearing a surgical mask over their mouth and nose.
With factory made supplies limited, more and more people are dusting off their sewing machines to make their own. The good news is, it’s easy! They can be made from just about anything (though a light wight woven cotton or poly-cotton is best) and most people will have the appropriate materials to hand.
Whether you’re here to learn how to make your own so that you aren’t buying up supplies so urgently needed by front-line staff, or here to join the army of individuals sewing to support front line workers around the country, here’s how. (There are plenty of variations, but for now, lets start with the basics).
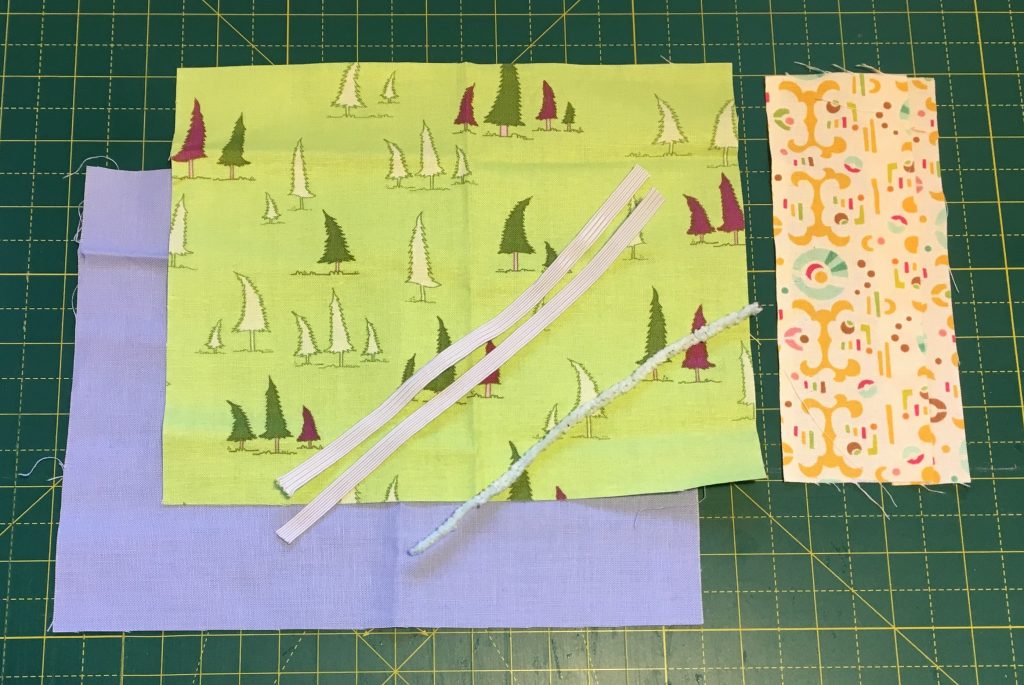
Materials
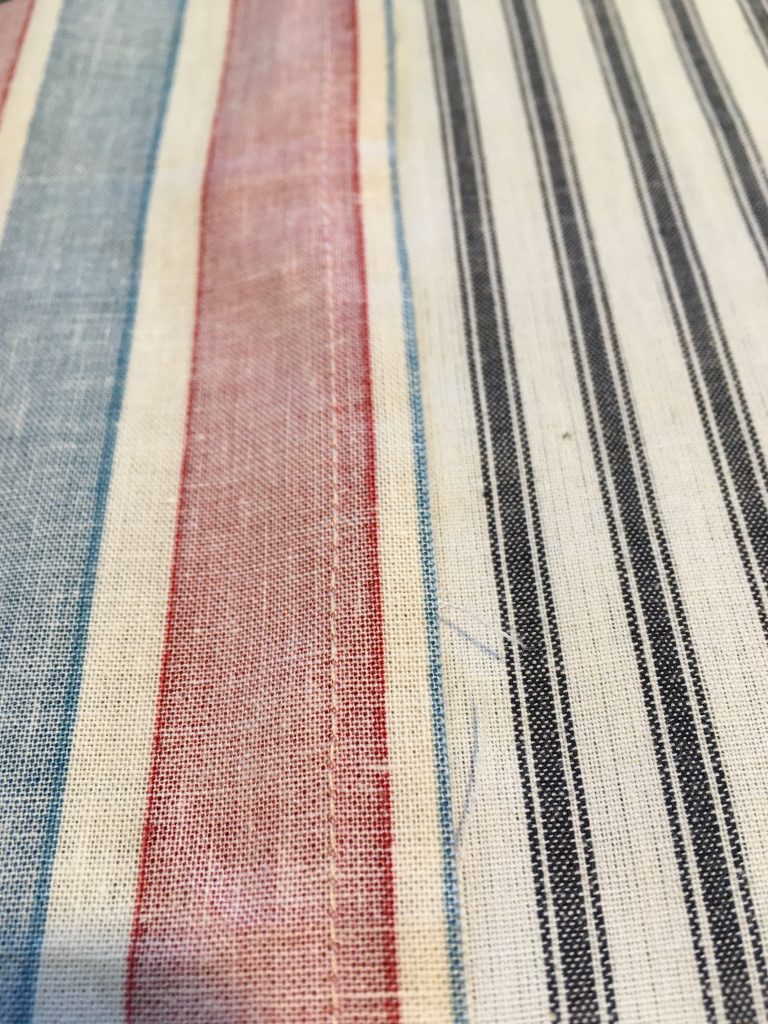
- 1 piece of fabric, 7″ x 8″ for the front. This will be the side that faces the world, so you may want to use a fun fabric. if your pattern has a direction, make sure that 7″ is the height and 8″ is the width.
- 1 piece of fabric, 7″ x 8″ for the lining. This will be inside, against the face, so you may want to use a plain fabric for this.
- 2 strips of binding, 1 1/2″ x 4″
- 2 strips of elastic (aprox 1/8″ – 1/4″ wide)
- 1 pipe cleaner
- Thread – neutral is best
Method
Step 1 – prep
Cut and press your fabric. Prepare your notions.
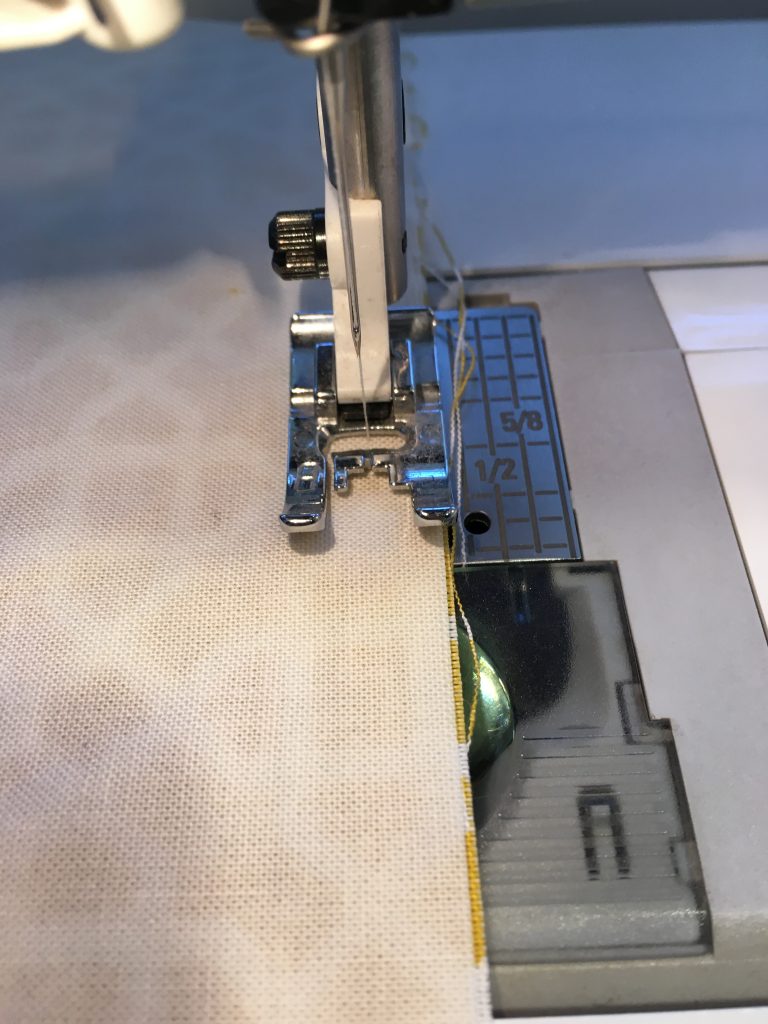
Step 2 – Stitch top edge
Place fabric right sides together and sew along top (8″) edge using a 1/2″ seam allowance.
If you have a directional print, make sure you’ve got the pattern going in the right direction.
Unfold, press. Press seam allowance towards lining.
Step 3 – Understitch top seam
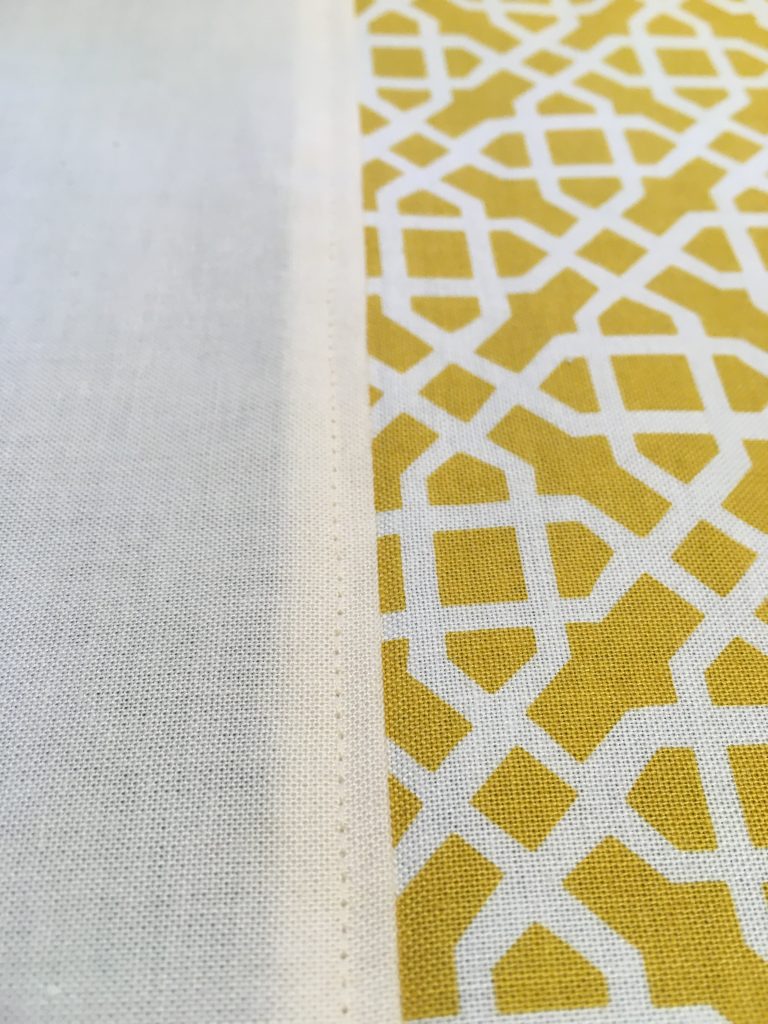
Understitch the seam 1/4″ from the seam line.
With the Seam Allowance on the lining side, pull fabric tight and sew a second row of stitches 1/4″ from the original on the lining side.
This will be visible, so you may choose to use a complimentary thread.
Press.
By understitching the seam here, we ensure that the seam tends towards the lining – so it won’t be visible from the front when finished. It also adds stability to the fabric without adding bulk. We are going to use this channel later, so don’t be stingy with your 1/4″.
Step 4 – Sew bottom edge
With right sides together again, sew the bottom edge, this time with a 1/4″ seam allowance.
Make sure you match the edges – having understitched your top edge, and with RS together, your fabric will tend to seem a little short here, but it isn’t!
Press; press seam allowance to lining side.
Step 5 – Understitch bottom edge
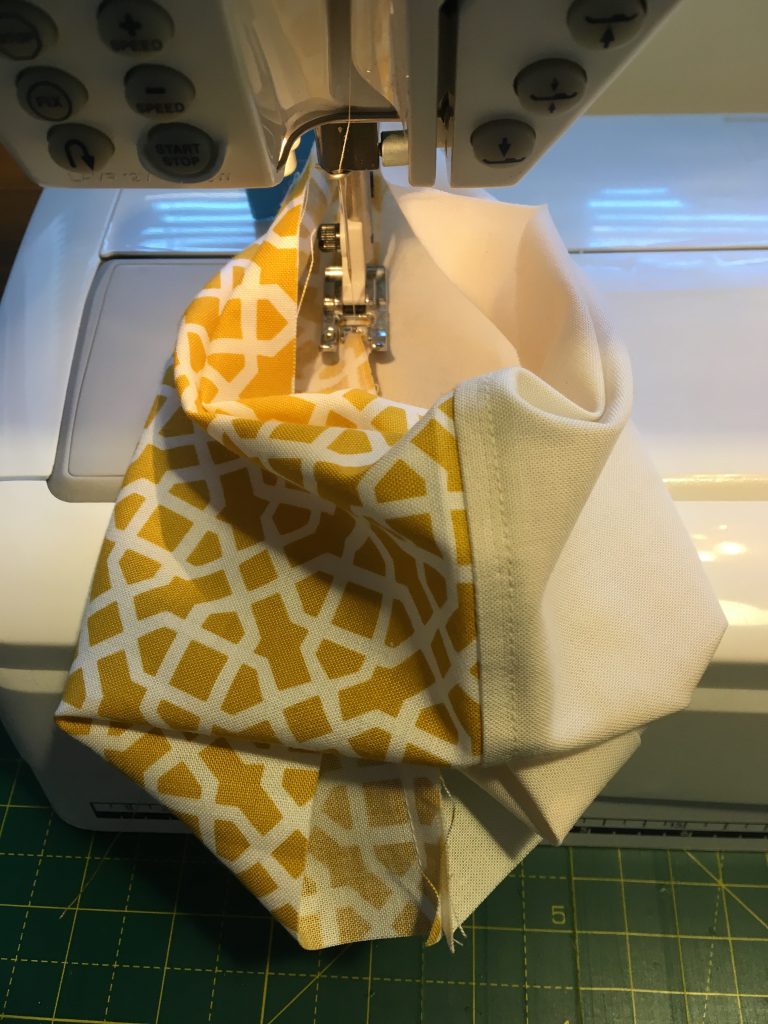
Understitch the seam allowance to the lining again, this time at 1/8″.
As you now have a circle, this may be a little fiddly the first time. Just take care not to catch the rest of the fabric under your needle.
Press.
Step 6 – Make nose bridge
Insert the pipe cleaner into the 1/4″ channel we made along the top edge.
This will allow the wearer to form the mask around their nose, to keep it securely on their face and stop gaping around the nose.
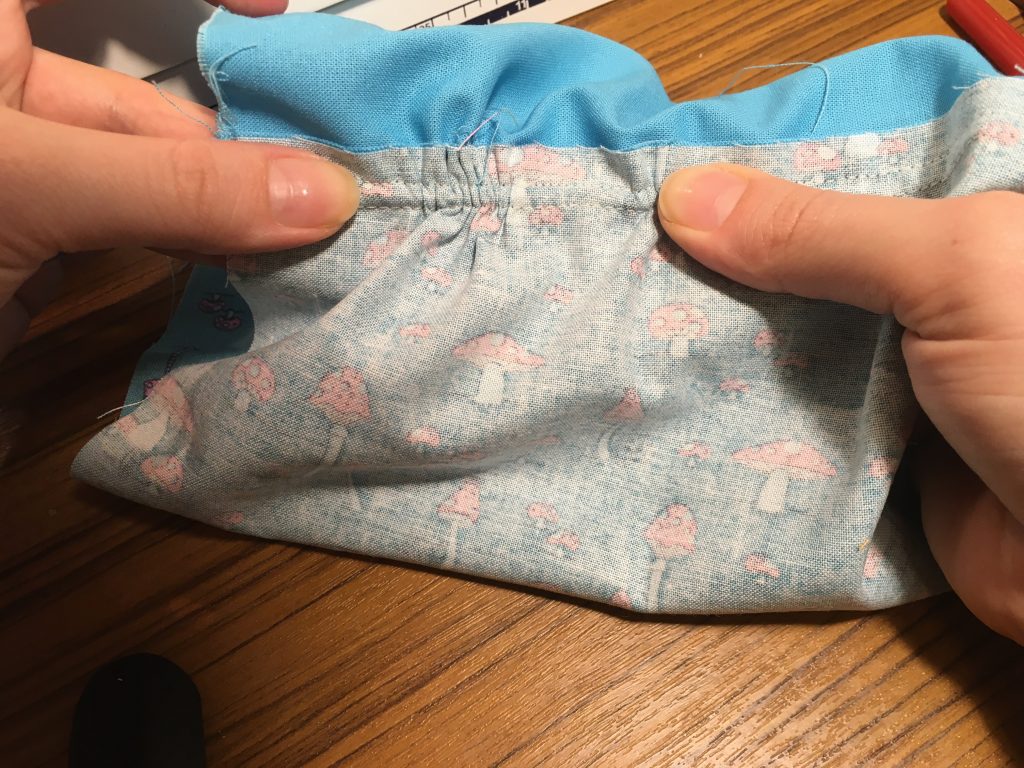
Step 7 – Pleat

If you’re using a filter, add it now.
Pleat and press.
Stay stitch in place.
Catch the elastic in the stay stitching, approximately 1/2″ from the top and bottom edge.
No elastic? Try ties instead
Step 8 – Bind

Bind the edges using your binding strip.
Press the edges of our binding inwards.
stitch inside the fold on the back of the mask, taking care not to catch your elastic in the seam.
fold the raw edges in, fold over to the front, and topstitch.
Step 9 – Finish your ends
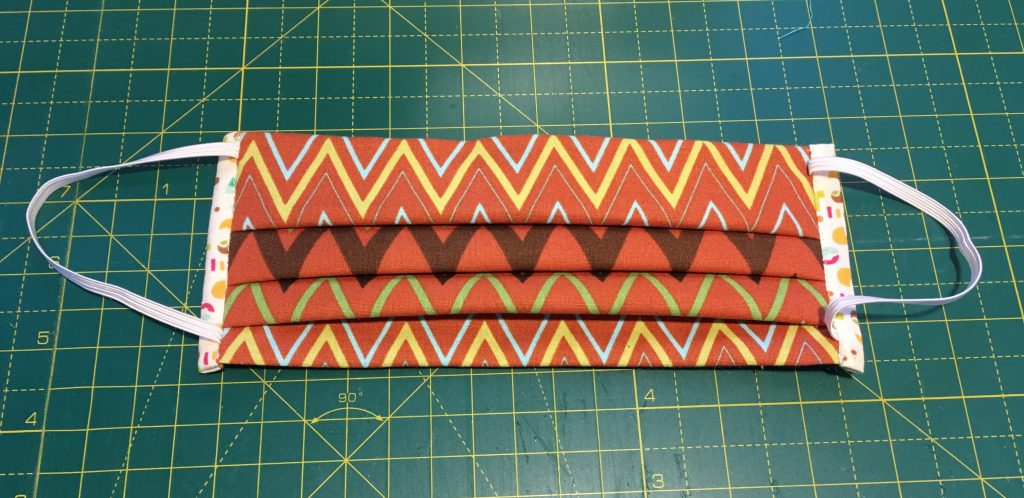
finish your ends and there you have it. One face mask.
Variations
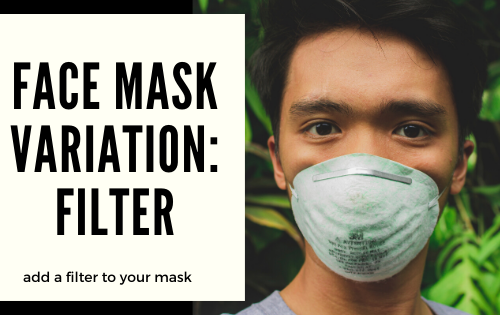
Filters
If you’ve got access to filter fabric, you can easily add it into this mask. Here’s how.
Missing components
Missing some of the materials listed here? Can’t go to the shops to get the piece you’re missing?
No problem – we can adapt. I’m putting together instructions for variations, here:
- No elastic? Try ties instead
Gallery

Materials 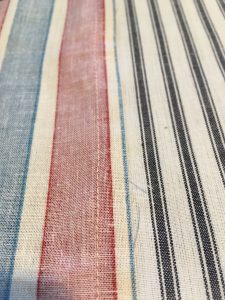
Stitch seam, press SA to lining 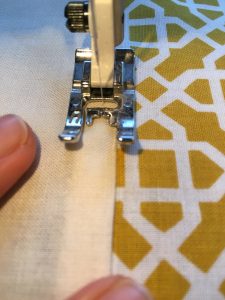
Understitch 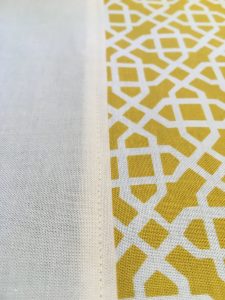
Understitched 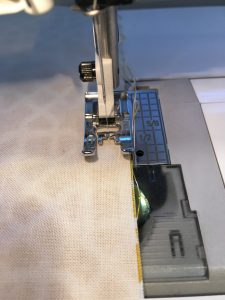
Sew bottom seam 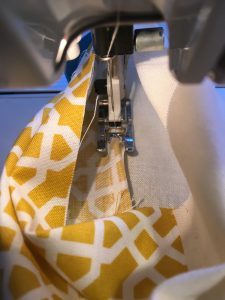
Understitch bottom seam 
Ease pipecleaner into channel 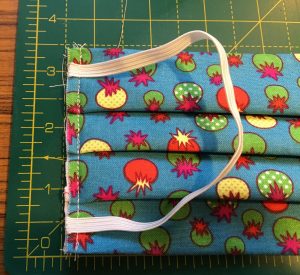
stay stitch pleats with elastic 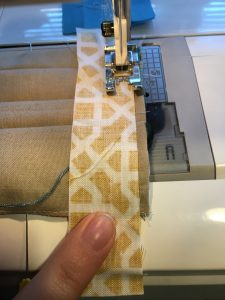
Sew binding to back 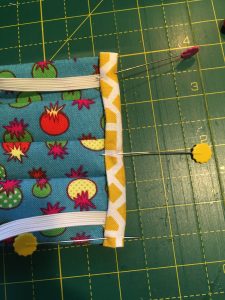
Fold in 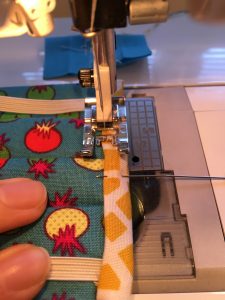
Topstitch 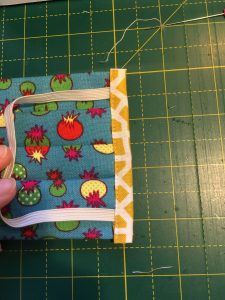
Bound 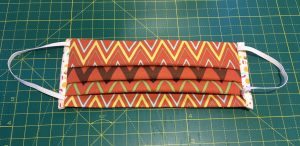
Complete!